

| Version 9 (modified by , 14 years ago) ( diff ) |
|---|
Languages:
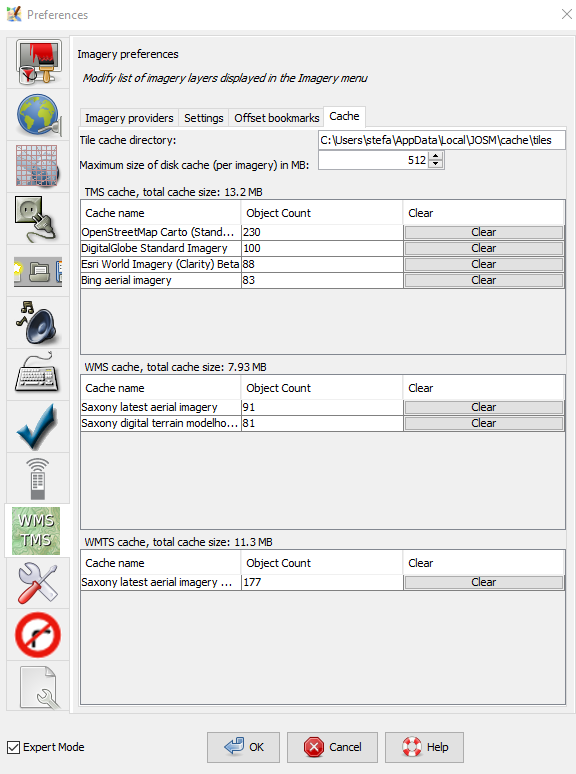
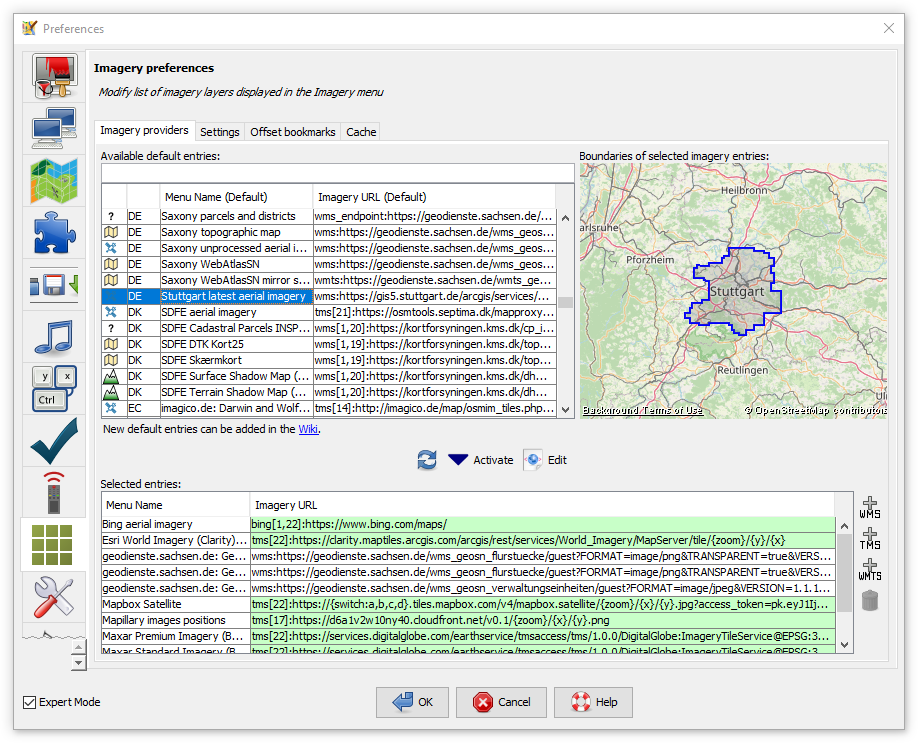
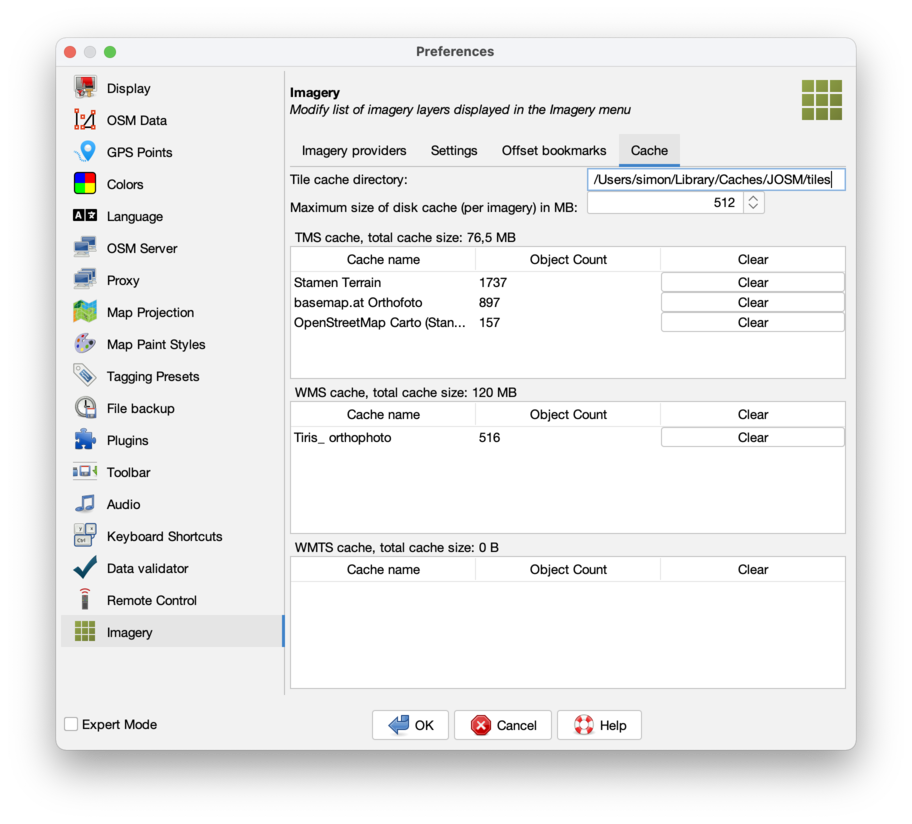
Preferences > Imagery
 Adding predefined/custom WMS/TMS imagery sources.
Add predefined imagery

- Select one or more imagery of interest
- Optional: verify bounds on the map
- Click Activate
- Click OK
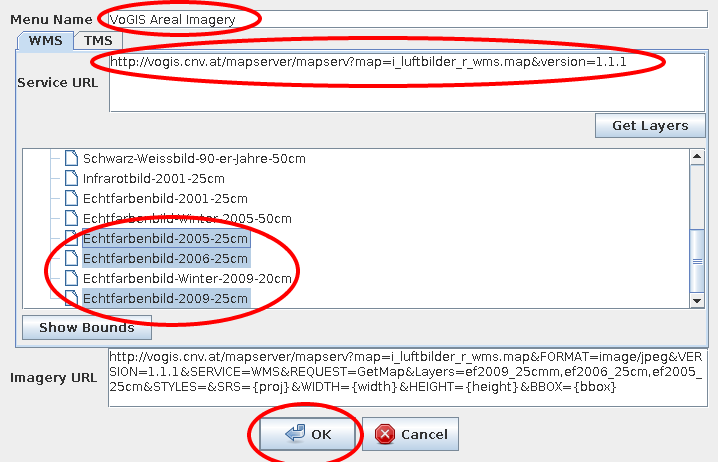
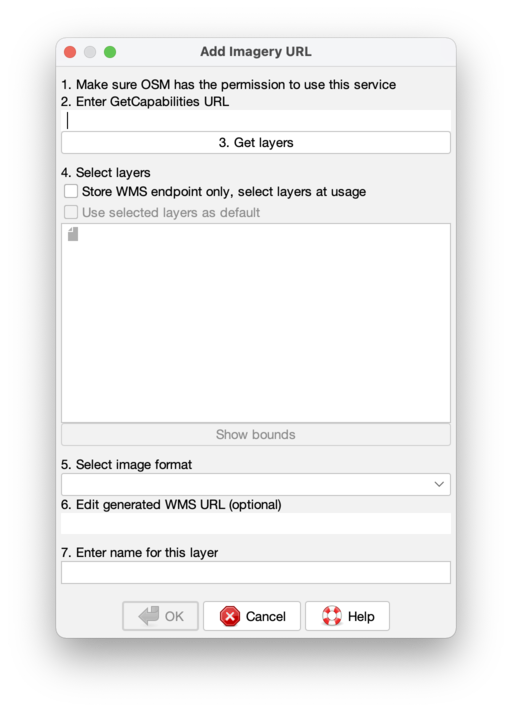
Add custom WMS imagery
- JOSM -> Preferences -> WMS/TMS tab
- Click
 just to the right of the Selected Entries table on the bottom half of this tab


- Insert Menu Name
- Paste Service URL (Mac users: paste is ctrl-v in josm)
5.. Click Get Layers
- Select one or more layers
- Click OK
- Click OK on the Preferences dialog
- Go to the JOSM Window
- Click on imagery
- You should now see the name of the imagery layer, as you defined it in Step #2
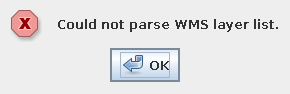
Troubleshooting
If the WMS layer list cannot be loaded, a warning dialog is shown:

To trace the problem, copy the URL from most recent line from the console (e.g., GET http://vogis.cnv.at/mapserver/mapserv?...) and open it in your browser.
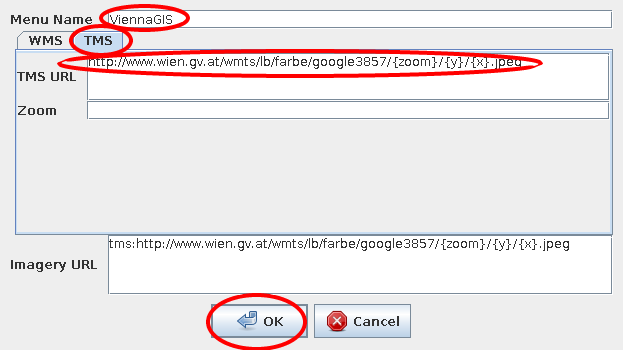
Add custom TMS imagery

- Click
- Click TMS!
- Insert Menu Name
- Paste TMS URL, replace
x,y,zoomparameter in the URL by{x},{y},{zoom}, respectively. Use for instance{switch:a,b,c}or{switch:1,2,3,4}for a random selection of the subdomain. Example:http://{switch:a,b,c}.www.toolserver.org/tiles/bw-mapnik/{zoom}/{x}/{y}.png. See Maps#TileMapServicesTMS for more options. - Optional: insert the zoom range in Zoom
- Click OK
Advanced: Add entry to list of predefined imagery
Read the Documentation and edit Maps.
Attachments (12)
- wms.png (25.2 KB ) - added by 14 years ago.
- wms-error.png (2.8 KB ) - added by 14 years ago.
- tms.png (11.7 KB ) - added by 14 years ago.
- scr_imagery_prefs_cache.png (71.4 KB ) - added by 7 years ago.
- predefined-imagery.png (193.8 KB ) - added by 6 years ago.
-
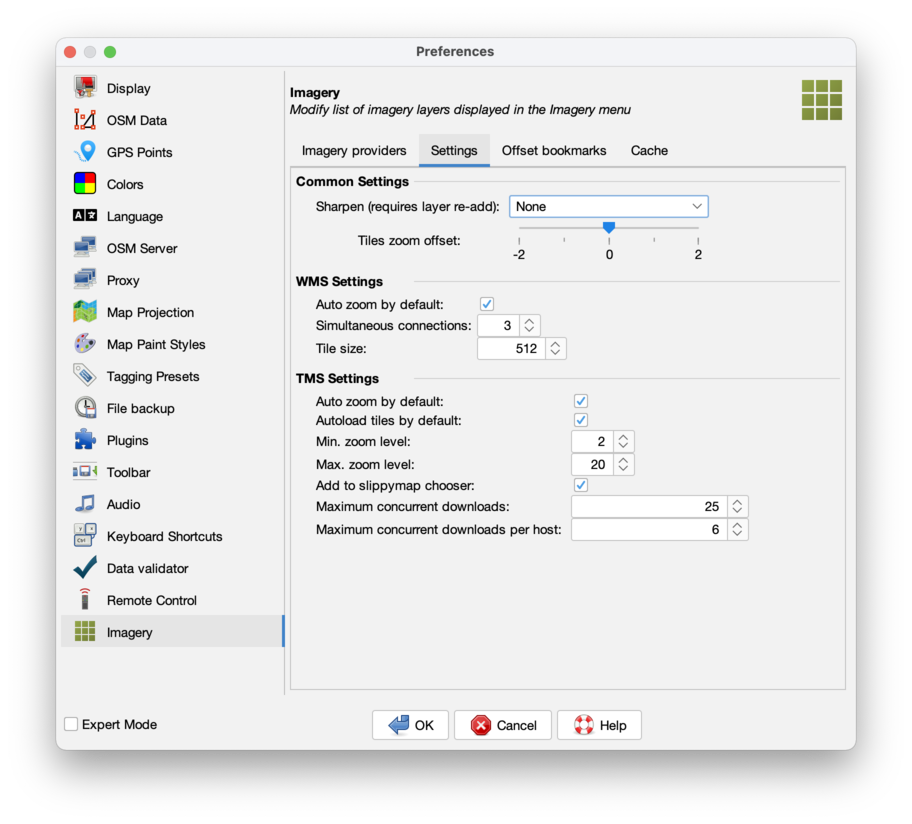
PreferencesImagerySettings.png
(151.1 KB
) - added by 5 years ago.
new screenshot
-
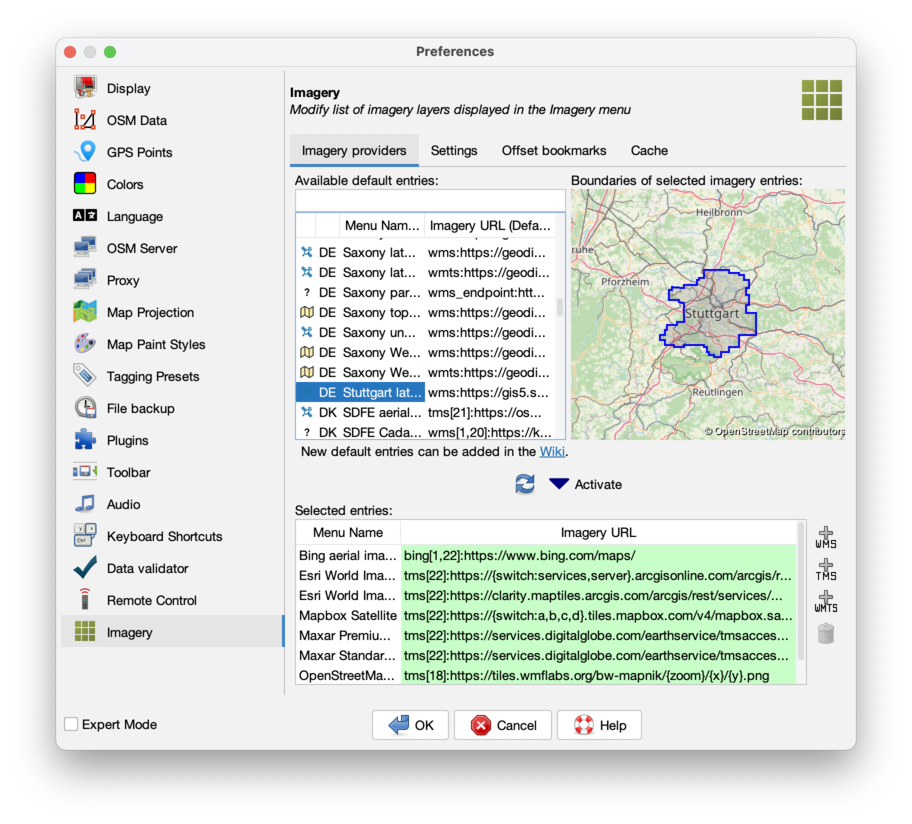
PreferencesImageryProviders.png
(434.6 KB
) - added by 5 years ago.
new screenshot
-
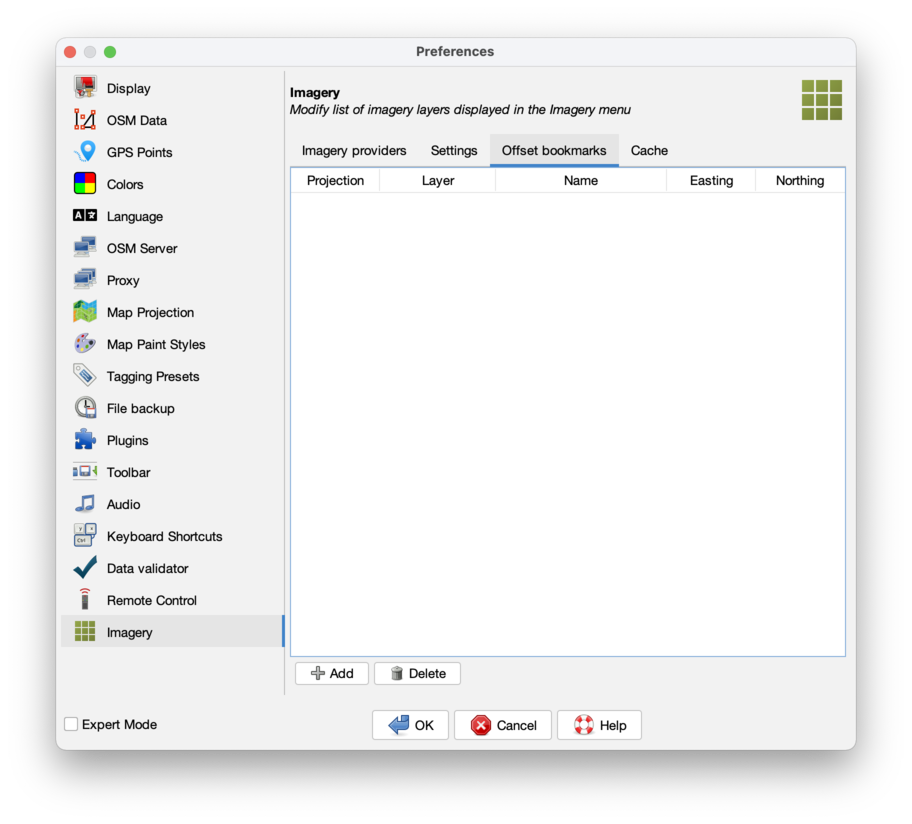
PreferencesImageryOffsetBookmarks.png
(121.9 KB
) - added by 5 years ago.
new screenshot
-
PreferencesImageryCache.png
(151.8 KB
) - added by 5 years ago.
new screenshot
-
PreferencesImageryAddWms.png
(69.5 KB
) - added by 5 years ago.
new screenshot
-
PreferencesImageryAddWmts.png
(58.5 KB
) - added by 5 years ago.
new screenshot
-
PreferencesImageryAddTms.png
(91.0 KB
) - added by 5 years ago.
new screenshot
Download all attachments as: .zip
Note:
See TracWiki
for help on using the wiki.