

Languages:
Table of content
Plugin -> PicLayer
![]()
This plugin shows images as background in JOSM.
It offers two ways of loading the raster image data:
- from a file and
- from the clipboard.
This is an early version and is not end-user-proof, so please follow the steps exactly when using it.
Make sure the image is suitable, copyright-wise, if in doubt, don't use.
Usages
- Load some data from the server so the map is visible.
- Move and zoom the MapView to the estimated target position of the new background image.
- Click the Imagery menu and either choose New picture layer from file or New picture layer from clipboard.
- If you chose file, a file selector will pop-up. Pick the image you want. All formats supported by Java (GIF with transparency) and furthermore ZIP as container and KML (#5451 experimental) are possible.
- If you chose clipboard, importing the image data may take some time.
If something failed, you should get a message box. If not - check the console for messages (Linux only?)
- Once the image is visible you may start to position and calibrate it. For that - activate the PicLayer layer with the image in the Layers window.
- Start aligning the image.
- Move the image by choosing 'Move' from the toolbar and dragging the mouse around with left button pressed.
- Rotate the image by choosing 'Rotate' from the toolbar and drag.
- Scale the image by choosing 'Scale' from the toolbar and drag.
- You can also choose to scale in just one axis by selecting the proper button.
- If you need to reset your changes - you can use the context menu from the PicLayer entry in the layer list.
- If you want to save the calibration of the image, you can also do this using the popup menu.
This plugin is meant to help with mapping from aerial photos, similar to mapwarper.net.
Converting calibration data in PicLayer
For those interested in converting calibration data in PicLayer:
INITIAL_SCALEis the initial size of 100 image pixels (length of ruler in JOSM).SCALEX/Yis the factor after changing the size of the raster image relative to JOSM data layer.INITIAL_POS_y/Xare the coordinates of the image center in mercator projection.POSITION_X/Yare the coordinates after shifting the raster image relative to JOSM data layer.ANGLEis the angle in degrees (clockwise -> positive) when the raster image is rotated.
- Mercator units are arc units in longitude (PI <-> 180).
- Latitude is a bit complicated because this projection preserves angles but not areas:
y = ln(tan(45+b/2))
where b is in degrees, ln is the natural logarithm and tan is the tangent.
- The longitude in degrees l is obtained from x via:
l = x*180/PI.
- The latitude b can be calculated from y by:
b = 2*arctan(e!**y) - 45
(when inverse tangent returns degrees).
When transforming longitude degree differences of image corners to distance, you have to take into account that one degree east-west has different size dependent on latitude.
At equator 1 degree -> d0 = 111.321 km (from GRS 80 semi-major axes), at latitude b you get:
d = d0*cos(b)
(only exact for sphere, but deviation from ellipsoid < 0.5%).
Using auto calibration action
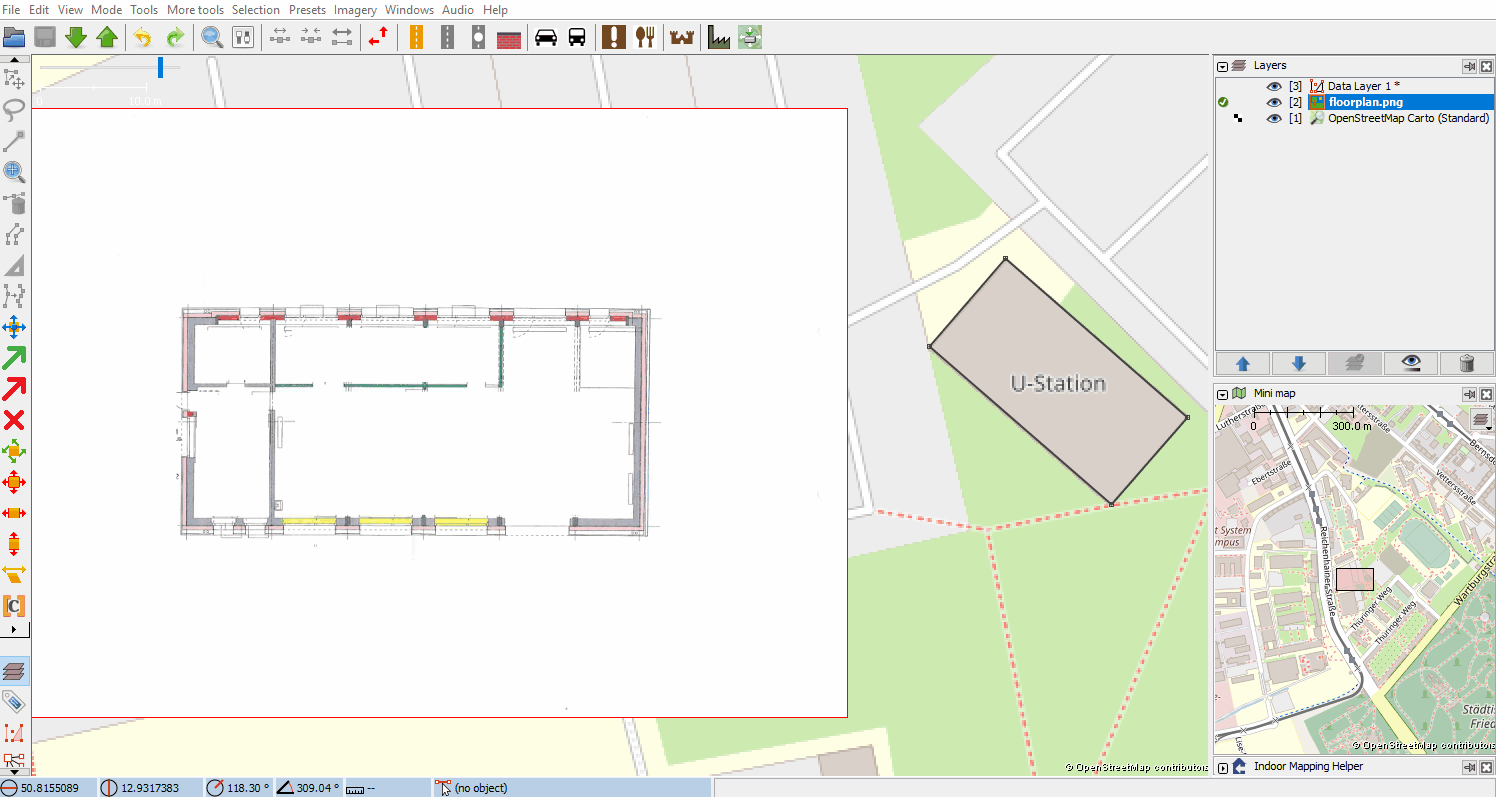
This action helps you to position and calibrate an image (preferably a floor plan) into the world map.
What do I need to use this action?
- an image, preferably a floor plan
- information about side length of building
How do I start calibration?
- 1. open the image file and switch to the image layer so you can see the PicLayer modes in the Edit Toolbar on the left.
- 2. enter the "Calibrate Picture with outline" mode
- 3. follow the window
- 3.1 select Building Corner Point (example in picture : edge points)
- 3.2 enter True Distances - if you select the text field a green line will pop up and show you which distance on the image is required. Please enter the real distance in meter between the two points.
- 3.3 open the Building Reference File - open a .osm or .gpx file with coordinates of building outline or select a layer as reference
- 3.4 select Building Reference Points
- 3.4.1 mode selection - if the building outline coordinates are already defined in layer, select defined mode (.osm files only), if you want to set the coordinates somewhere on layer, select manual mode
- 3.4.2 select the same points as in step 3.1, now only on your real building outline (example in picture)
- 3.5 run calibration - result
Example: Piclayer_auto_calibration.gif
More information For more information about why do I need to insert distances and why the image usually does not fit exactly in the outline file, see PicLayer Page.
See also
- PicLayer page at OSM wiki
Back to Plugin Help
Back to Main Help
Attachments (4)
- set_edge_points.png (247.9 KB ) - added by 7 years ago.
- select_distances.png (118.8 KB ) - added by 7 years ago.
- select_ref_points.png (46.0 KB ) - added by 7 years ago.
- final_cali.png (898.8 KB ) - added by 7 years ago.
Download all attachments as: .zip